
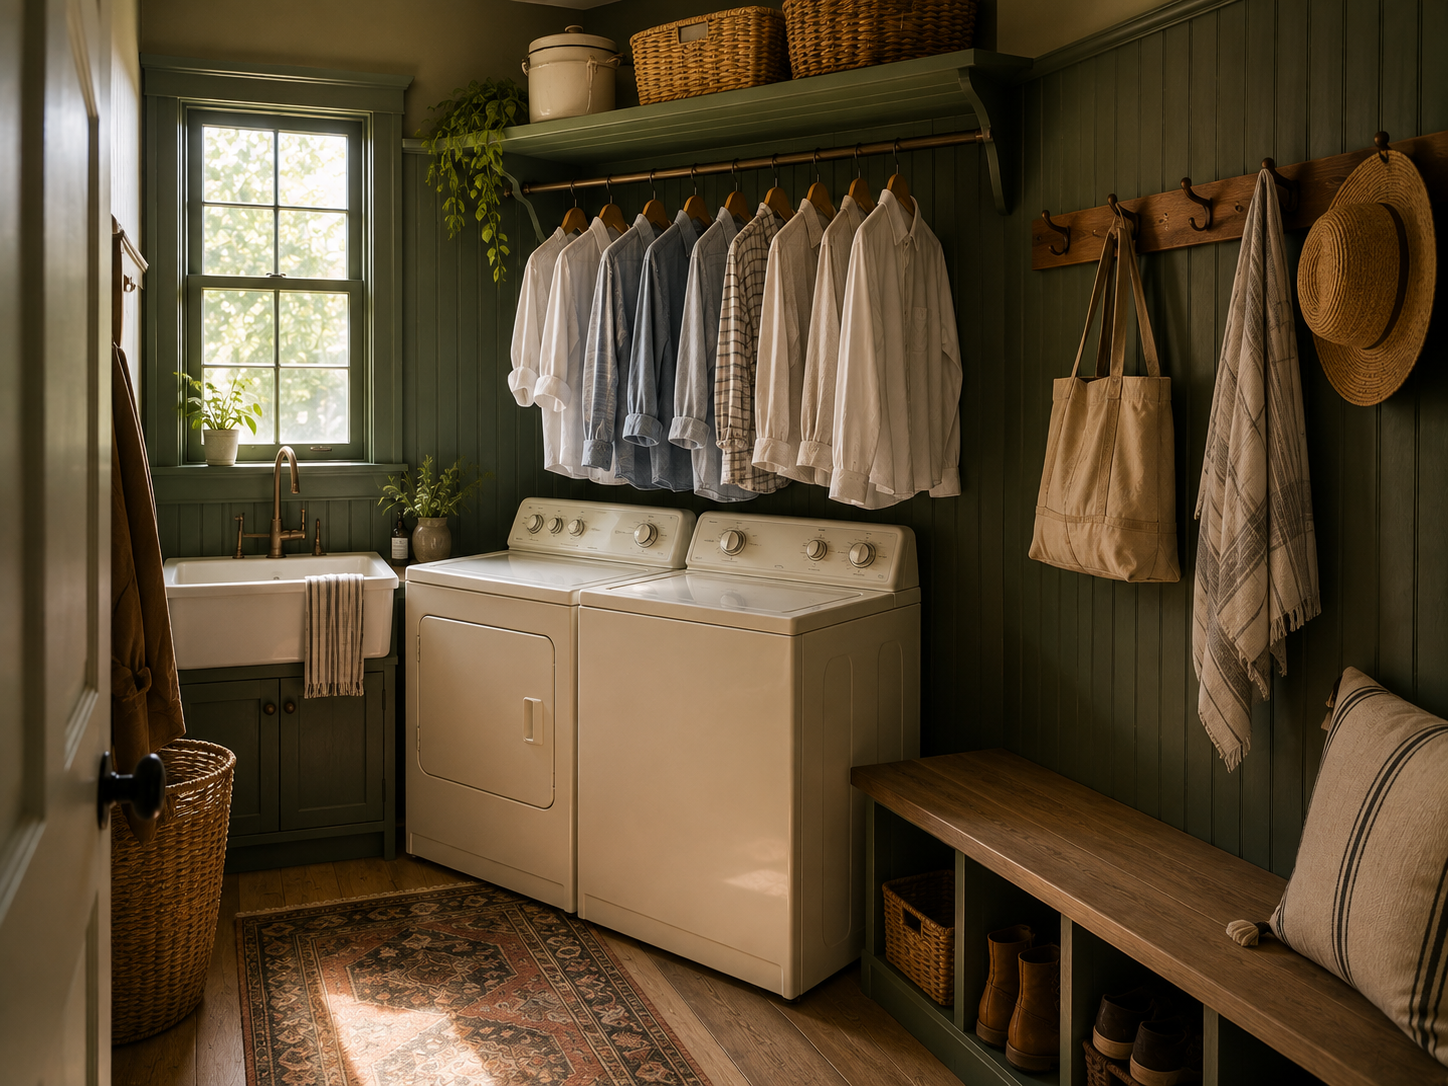
The fastest way to improve a small laundry room is to fix the appliance layout before adding storage. A washer and dryer placed on the wrong wall can consume the room’s best folding area, block cabinet doors, and turn a two-minute laundry task into a constant shuffle.
For a successful small laundry room design, think in four zones: appliances, folding, storage, and traffic flow. The goal is not to squeeze every possible cabinet into the room. It is to make the washer and dryer easy to load, give clean clothes somewhere to land, and preserve a clear route through the space.
The 15 layouts below show how to do that in narrow laundry rooms, closets, mudroom combinations, hallway spaces, and compact utility rooms.
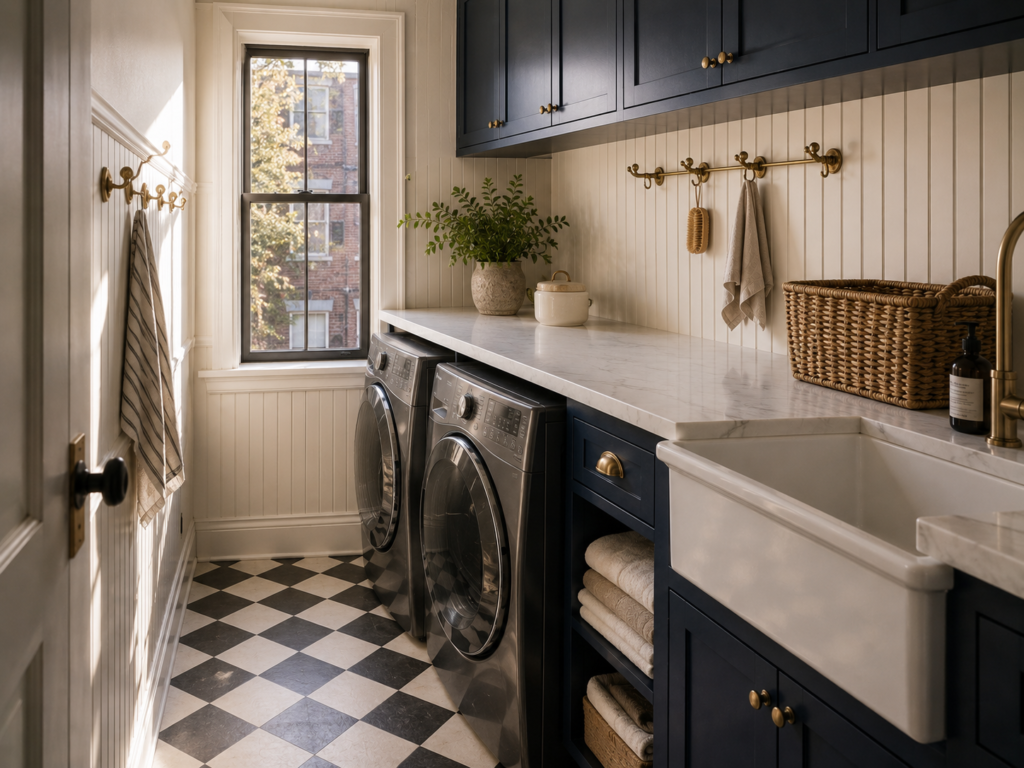
1. Side-by-Side Washer and Dryer With a Full Folding Counter
For a room at least 60 inches wide, side-by-side machines create one of the most useful laundry layouts because the entire area above them becomes a potential work surface.
Install a continuous countertop across both machines. A 30- to 36-inch-deep surface provides enough room to fold towels, sort clothing, or place a laundry basket.
Keep the counter slightly above the appliance tops rather than creating awkward gaps around the machines.
Why this layout works: washing and drying happen below while folding happens directly above. Clean clothes never need to travel across the room.
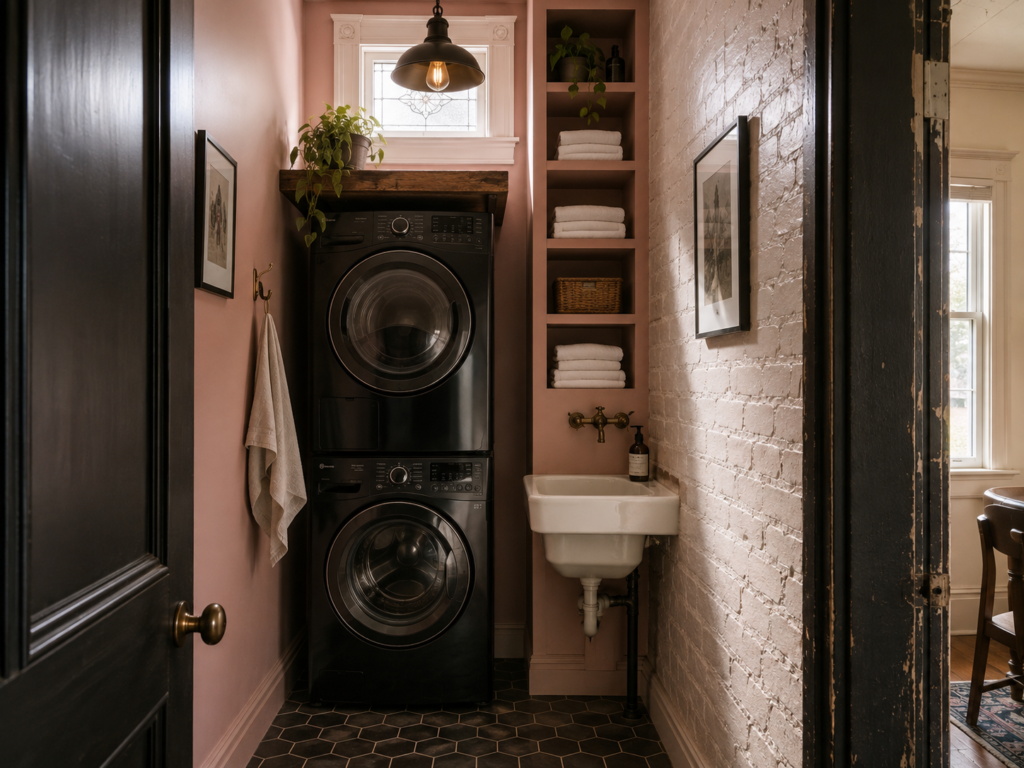
2. Stack the Appliances to Create a Folding Station
A stacked washer and dryer immediately change the footprint.
Instead of occupying an entire wall with two appliance widths, you use roughly one appliance footprint vertically. That opens valuable floor and wall space for a narrow counter, hamper cabinet, or tall storage unit.
A stacked configuration works particularly well in a laundry closet or room that is wider than it is deep.
Leave enough clearance for doors, hoses, ventilation requirements, and appliance servicing. Follow the specific installation instructions for your machines rather than copying a dimension from another laundry room.
3. Put the Folding Counter Beside the Machines
Not every laundry room has enough width for a counter across the appliances.
A side counter solves that problem.
Place the washer and dryer together, then use a narrow worktop beside them. Even 18 to 24 inches of usable counter width gives you a dedicated place for folding smaller loads.
The important part is keeping the counter at a comfortable working height and avoiding a layout where the open appliance doors collide with it.
This arrangement also creates a natural division: machines on one side, clean-clothes handling on the other.
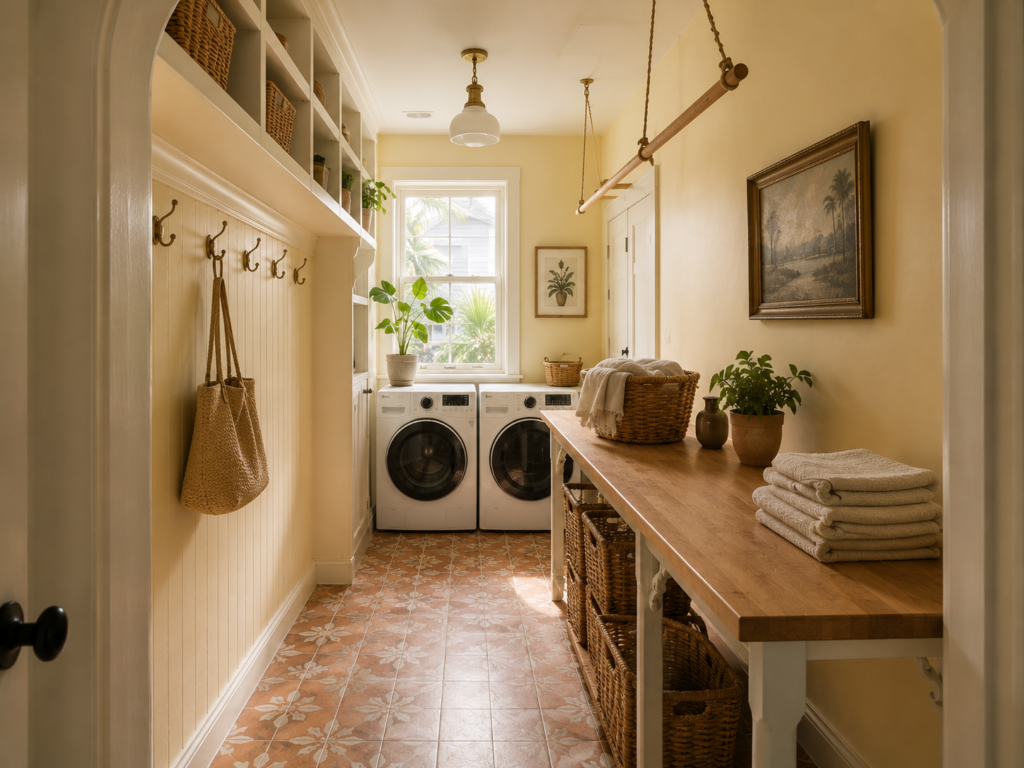
4. Use a Galley Laundry Room With One Dedicated Work Wall
A narrow laundry room works beautifully as a galley when each wall has a specific job.
Put the washer and dryer on one side. Use the opposite wall for shallow cabinets, a folding counter, hanging rail, and laundry supplies.
Keep the center aisle open.
Don’t fill both walls with deep cabinets. I’d rather have 24 inches of useful storage plus a comfortable walkway than a wall of cabinetry that makes the room feel like a corridor.
For narrow spaces, shallow storage wins because traffic flow matters more than maximum cabinet volume.
5. Build a Laundry Closet Around a Stacked Pair
A laundry closet needs a different strategy from a dedicated utility room.
The priority is containment.
Use stacked appliances, a narrow shelf above them, and doors that fully conceal the machines when the laundry is not being used. Bi-fold or sliding doors can help where a conventional swing door interferes with the room outside.
Add a pull-out hamper or slim rolling basket nearby rather than trying to fit a full cabinet inside the closet.
Ventilation, electrical connections, water supply, drainage, and manufacturer clearances still determine the actual installation. Decorative doors come second.
6. Add a Pull-Out Folding Surface
A permanent counter isn’t your only option.
A heavy-duty pull-out work surface tucked beneath a countertop or cabinet gives you a temporary folding station without consuming floor space all day.
This approach works particularly well in laundry rooms that double as mudrooms or passageways.
Keep the mechanism strong enough for real laundry use. A flimsy drawer designed for lightweight storage becomes frustrating once loaded with folded towels.
7. Install a Wall-Mounted Drying Rack
Air-drying clothes needs dedicated space.
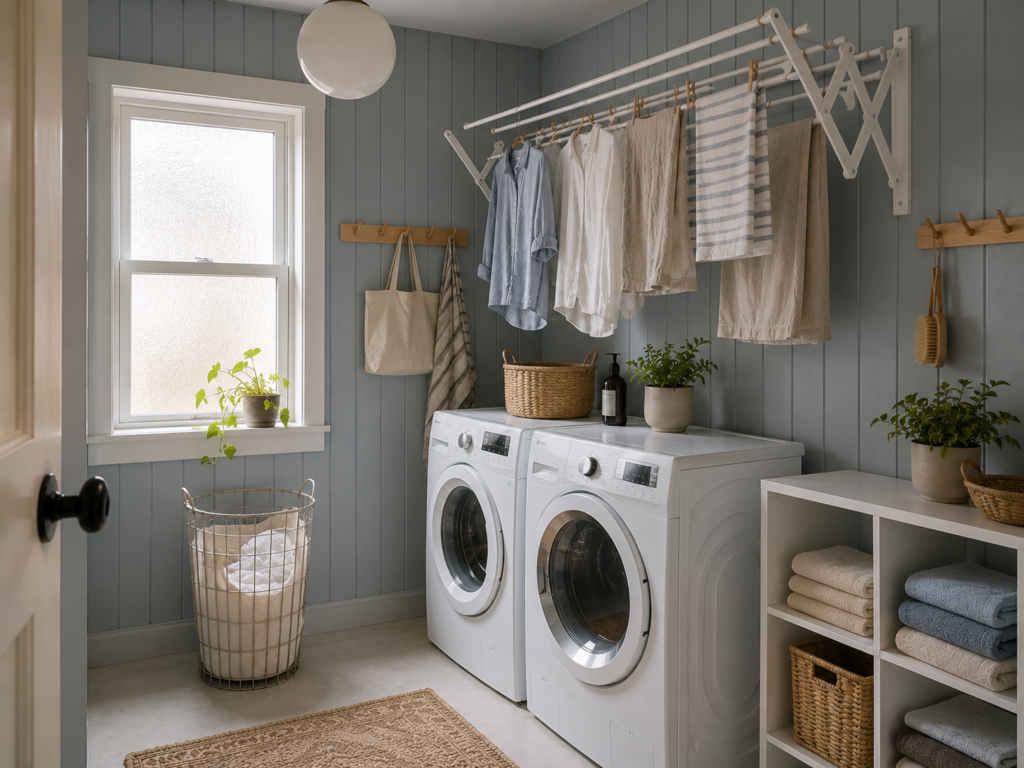
A wall-mounted folding rack gives you drying capacity without permanently occupying the floor. Install it on a wall with enough clearance to open it fully without blocking the washer, dryer, or doorway.
For delicate clothing, position the rack near the utility sink or ventilation source.
A retractable clothesline is another option when wall area is limited.
8. Turn the Area Above the Washer Into Storage
The wall above the appliances is valuable real estate.
Use upper cabinets for detergent, stain removers, spare cleaning supplies, and household items that need to stay away from children.
Open shelving works for baskets and frequently used products, but closed cabinets create a cleaner visual field.
I’d choose closed cabinetry for most small laundry rooms. Too many exposed bottles and mismatched containers make a compact room look cluttered within days.
9. Create a Tall Utility Cabinet Instead of More Upper Cabinets
Laundry supplies have awkward shapes.
Brooms, ironing boards, vacuum attachments, mop handles, and drying racks don’t fit comfortably inside standard upper cabinets.
A tall, narrow utility cabinet gives those items a dedicated vertical home.
Look for an unused 12- to 18-inch-wide section beside the appliances or at the end of a cabinet run. That small footprint can eliminate the need to store cleaning equipment in another room.
10. Add a Utility Sink Only When It Earns the Space
A utility sink is useful for soaking stained clothing, hand-washing delicate items, cleaning shoes, and handling messy household jobs.
But it also consumes valuable counter and floor space.
In a 6 × 8-foot laundry room, a compact sink placed at the end of a counter run can work well. In a narrow 3-foot-wide laundry closet, forcing in a sink usually damages the layout.
Use the sink size that matches your actual tasks. A deep single-basin utility sink provides more practical capacity than a tiny decorative basin.
11. Use a Slim Hanging Rail Between Storage Zones
A hanging rail gives freshly dried shirts a place to go immediately.
Position it between the dryer and folding station, above a counter, or beneath an upper cabinet.
That creates a simple sequence:
dryer → hanging rail → folding counter → storage
You don’t need a giant mudroom-style hanging system. A short rail handles everyday shirts and reduces wrinkles before clothes reach the closet.
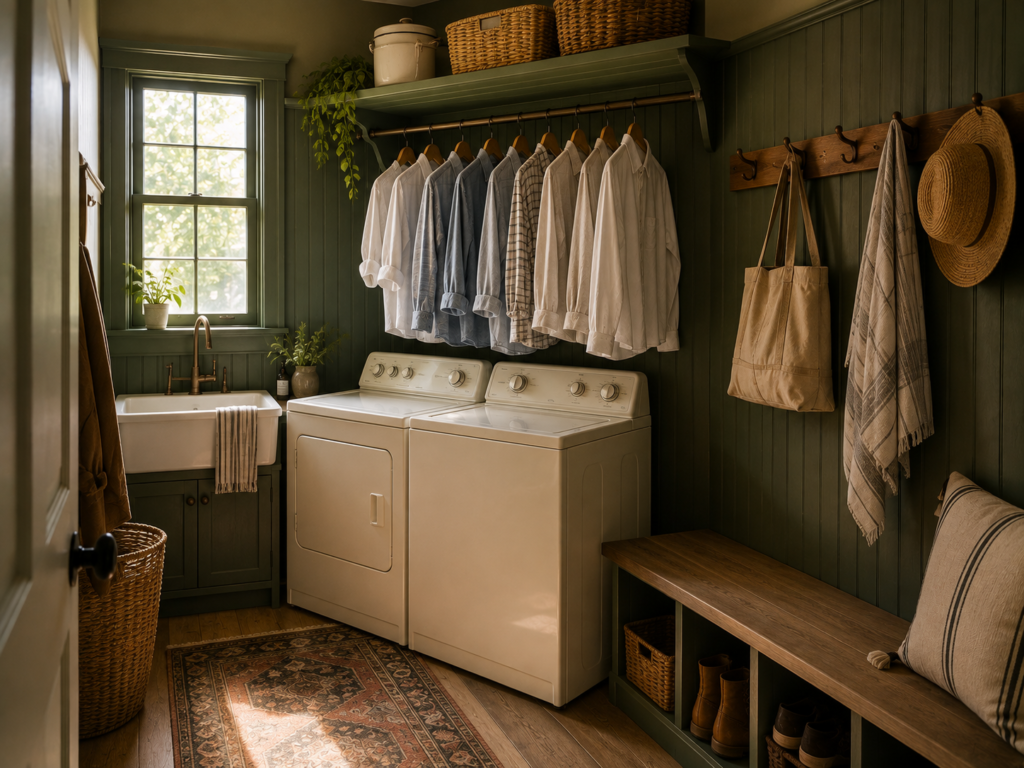
12. Combine Laundry and Mudroom Functions
When space is extremely limited, combining functions makes more sense than building two separate storage zones.
Place the laundry appliances along one wall and use the remaining wall for coats, shoes, baskets, and household storage.
Keep the laundry workflow away from the main walking path.
A bench with drawers underneath can handle shoes while upper hooks handle coats. The laundry side gets its own counter and cabinets.
This layout is especially effective near a garage or back entrance where dirty clothes and outdoor items already pass through the same zone.
13. Use a Fold-Down Ironing Board
An ironing board stored behind a door or mounted inside a cabinet saves surprising amounts of space.
Choose a model that folds completely flat and leaves neighboring doors and drawers usable.
Position it near the dryer rather than across the main walkway. Clothes come out of the dryer, get pressed immediately, then move toward the hanging or folding station.
This is a small feature, but it eliminates one bulky object from an already crowded room.
14. Choose Durable Finishes That Handle Laundry Traffic
Laundry rooms deal with moisture, heat, detergent, lint, and frequent cleaning.
For walls, Sherwin-Williams Agreeable Gray SW 7029 gives a soft neutral backdrop, while Benjamin Moore October Mist 1495 brings more color without making the room visually heavy.
For countertops, quartz is a practical choice because it handles frequent wiping and doesn’t require the sealing routine associated with some natural stones.
For flooring, choose a water-resistant material with a surface suitable for utility areas. Porcelain tile is particularly useful because spills are easier to manage.
A laundry room should look good, but durability gets the final vote.
15. Design the Traffic Flow Before Choosing Cabinets
This is the layout decision that ties everything together.
Draw the room to scale and mark the full appliance dimensions, cabinet depth, counter depth, doors, and major storage components.
Then draw the walking route.
Don’t just measure the empty room. Account for washer and dryer doors opening, cabinet doors swinging outward, drawers extending, and someone standing in front of an appliance while loading clothes.
For example, in a 5 × 7-foot laundry room, putting side-by-side machines on the short wall might look efficient on paper. Add a 24-inch-deep counter opposite them and the usable aisle shrinks quickly. A stacked pair could free enough width for a proper folding surface instead.
The best layout is the one that still works when the laundry basket is on the floor.
How to Compare the 15 Layouts
| Layout | Best Feature | Main Advantage | Watch Out For |
|---|---|---|---|
| Side-by-side + counter | Folding | Large continuous worktop | Requires width |
| Stacked appliances | Floor space | Opens wall area | Check appliance installation |
| Side folding counter | Compact work zone | Works in narrower rooms | Limited folding area |
| Galley | Traffic flow | Clear functional zones | Avoid deep cabinets |
| Laundry closet | Concealment | Uses dead space efficiently | Ventilation and access |
| Pull-out counter | Flexibility | Work surface disappears | Hardware quality |
| Folding drying rack | Air drying | No floor footprint | Needs open wall area |
| Upper cabinets | Storage | Uses vertical space | Avoid visual clutter |
| Tall utility cabinet | Cleaning tools | Stores awkward items | Uses some floor width |
| Utility sink | Washing | Handles messy jobs | Consumes counter space |
| Hanging rail | Wrinkle control | Direct dryer-to-hanger workflow | Limited hanging capacity |
| Laundry + mudroom | Multi-use | Combines functions | Needs clear zoning |
| Fold-down ironing board | Ironing | Hides bulky equipment | Requires sturdy installation |
| Durable finishes | Maintenance | Easier cleanup | Material cost |
| Traffic-first layout | Overall function | Prevents circulation problems | Requires planning |
The Appliance Placement Rule That Saves the Most Space
Keep the machines together unless separating them produces a clearly better workflow.
Splitting the washer and dryer across opposite walls creates extra walking and steals valuable counter space. Side-by-side machines also make it easier to install one continuous folding surface above them.
Stacking changes the equation when width is the limiting factor.
The decision should come from the room’s dimensions, not from whichever appliance configuration looks better in a showroom.
Best Storage Products and Details for a Small Laundry Room
For a real-world laundry setup, prioritize products that solve a specific storage problem.
Rev-A-Shelf offers pull-out organizers and cabinet storage systems that are useful for narrow utility spaces.
Elfa storage systems are another option for adjustable shelving, hanging storage, and wall organization.
For a simpler setup, use matching containers for detergent and cleaning supplies, then reserve one cabinet for backup stock. The goal is to keep everyday products within reach without turning the countertop into permanent storage.
When buying organizers or laundry accessories online, verify the exact dimensions against your cabinet opening before ordering. A product that is two inches too wide is useless no matter how highly rated it is.
A Realistic 6 × 8-Foot Laundry Room Layout
Picture a 6 × 8-foot laundry room located beside a home’s garage entrance.
Place the washer and dryer side-by-side on the 8-foot wall. Above them, install cabinets for detergent and cleaning supplies. Extend a countertop across the appliances for folding.
On the opposite wall, install a 15-inch-deep tall cabinet at one end for a vacuum and ironing board. Add a short hanging rail beside it and a shallow shelf above.
Leave the center open.
That creates three clear movements:
Dirty clothes → washer/dryer → folding/hanging → storage
Nobody has to carry a basket through the entire room just to fold a shirt.
This is the principle worth carrying into almost any small laundry room design: shorten the distance between each laundry task before adding another feature.
Small Laundry Room Design Mistakes to Avoid
Installing cabinets before measuring appliance doors: A cabinet that looks perfect in a drawing becomes a problem when the washer door needs to open fully.
Using full-depth cabinets everywhere: Standard kitchen-depth cabinetry can make a narrow laundry room feel like a tunnel. Shallow storage often provides enough capacity without destroying the aisle.
Forgetting where clean laundry lands:Every laundry room needs a temporary destination for clean clothes. That might be a counter, folding shelf, hanging rail, or rolling basket.
Treating the floor as storage: Laundry baskets, detergent containers, ironing boards, and drying racks quickly consume the floor. Move as much as possible onto walls and into vertical cabinets.
Ignoring service access: Appliances eventually need maintenance. Don’t design cabinetry so tightly around machines that a repair requires dismantling half the room.
FAQ
How deep should laundry room cabinets be?
Standard base cabinets are roughly 24 inches deep, but laundry rooms benefit from shallower storage in many locations. Upper cabinets around 12 to 15 inches deep provide useful storage while preserving headroom and visual space. Measure the actual items you intend to store before choosing cabinet depth.
How much space should be left around a washer and dryer?
The exact clearance depends on the appliance manufacturer and installation type. Check the installation manual for required side, rear, top, and front clearances, plus hose and vent requirements. Don’t copy the spacing from a neighboring laundry room because different models have different requirements.
Is a top-load or front-load washer better for a small laundry room?
Front-load machines provide a major layout advantage because their tops remain usable as a counter surface and they pair naturally with stacking systems. Top-load models require clearance above the machine for the lid, so overhead shelving or counters need more careful planning.
Where should a laundry room be located in a house?
A laundry room works best near the bedrooms, mudroom, or primary circulation path used when changing clothes. Location should also account for plumbing, drainage, exterior venting, noise, and structural access. Moving a laundry room solely to gain a prettier location can create a much larger construction project than the design benefit justifies.
Final Takeaway
The single most common mistake in a small laundry room is filling the available walls before protecting the traffic path—design the appliance openings, folding position, storage depth, and walking route first, then build cabinets around that workflow.